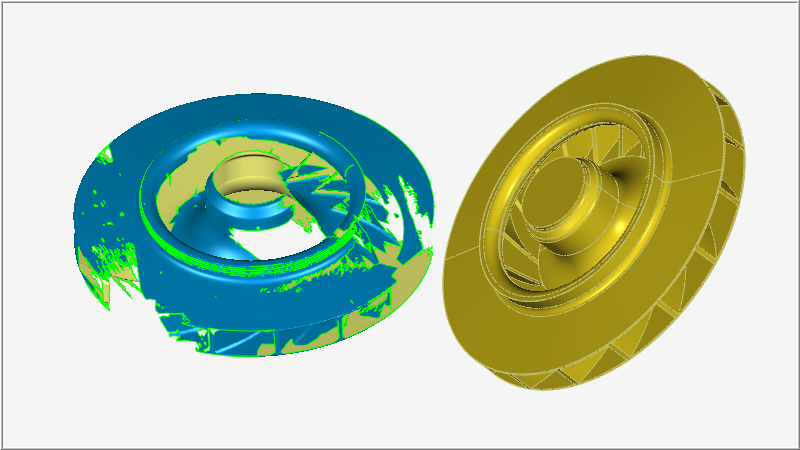
3D inspection compares as-built parts to their as-designed specification. Historically this is either done manually with calipers and 2D drawings, or semi-automatically with a CMM (coordinate measurement machine) and a CAD reference model. 3D scanning brings greater speed, powerful measurement techniques, visual results, and automation to these traditional processes.
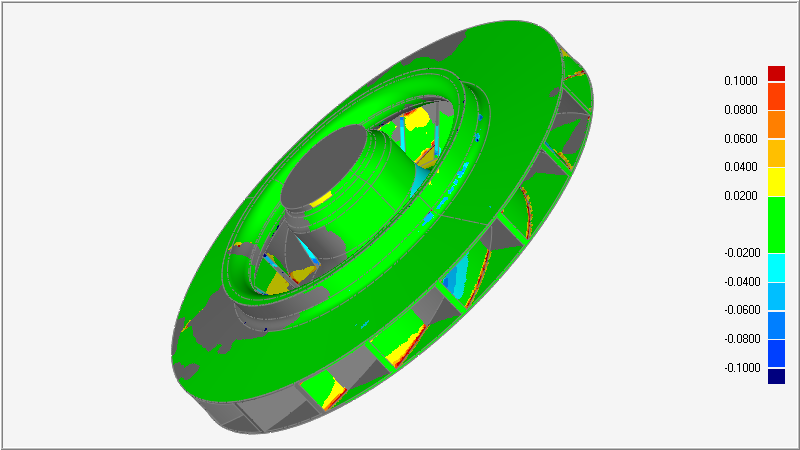
A non-contact 3D scanner captures millions of points on the surface of the part. This point cloud is then aligned with and compared against the nominal CAD geometry. The deviation results are mapped in color on the 3D model, which provides a very intuitive mechanism for showing the location and magnitude of part deviations.
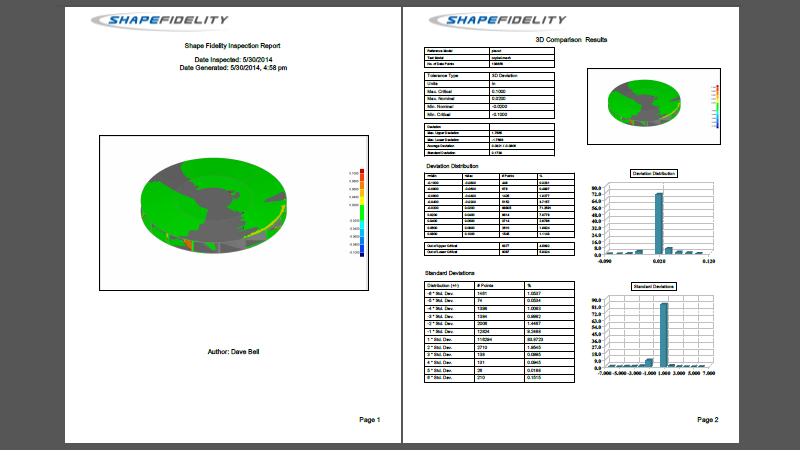
Further analyses can be performed, including cross-sections, dimensions, and GD&T. All of the results are compiled and included in a final inspection report.
This simple process is the basis for most inspections - align, compare, evaluate, and report. While this is the basis of most 3D inspections, it is also only the beginning of the possibilities.


